


Introduction
You are recently hooked on live streams and would like to give it a try yourself? Or maybe you have been a fan of various streamers for a long time and think that you have what it takes to become the next big star? If you are one of these people and want to start your career as a streamer on Smashcast, then we have just the right guide for you.
What is Smashcast?
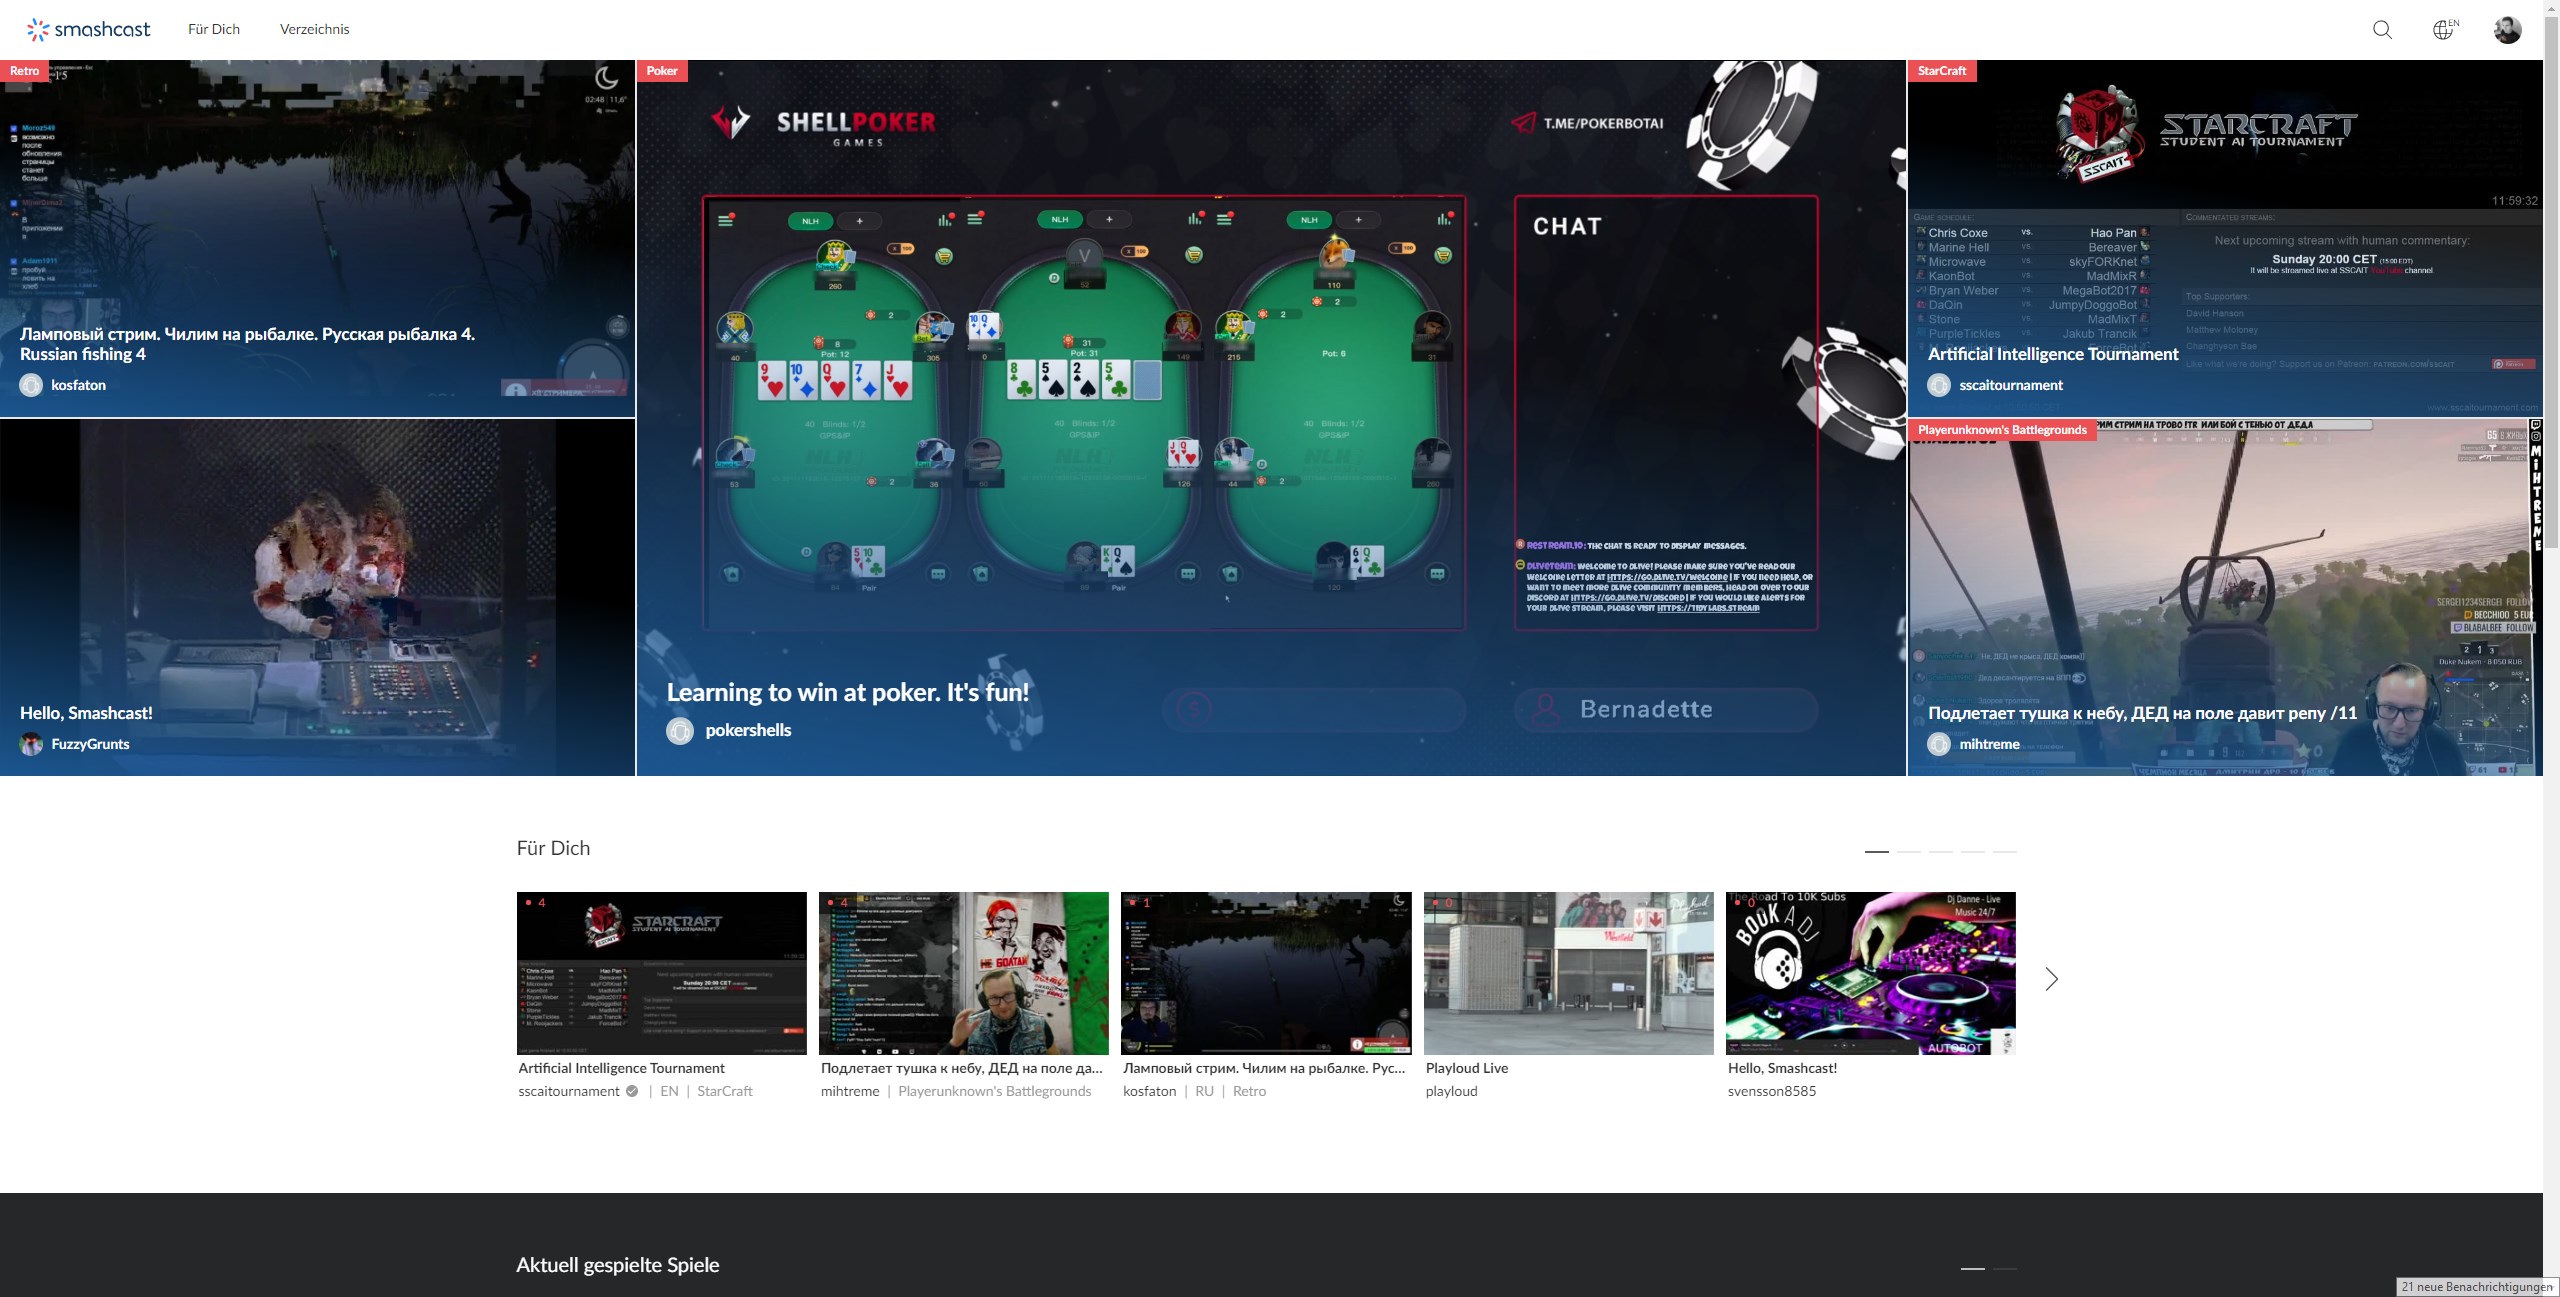
A comparison between Twitch and Smashcast is not really easy, because the streaming service Smashcast is specialized in a certain area and Twitch covers all areas of streaming. Smashcast aims to become the largest independent streaming service for e-sports and competitive gaming outside Asia. The streams should mainly shine through high quality with 4k resolution and low lag.
So Smashcast mainly features e-sports games like StarCraft, Dota 2, CS:GO and the like.
Smashcast was developed from the former live streaming websites for e-sports video games Hitbox and Azubu - it is therefore not completely new, but only a relaunch. Everyone who was previously on the road with one of them was automatically redirected to Smashcast.tv.
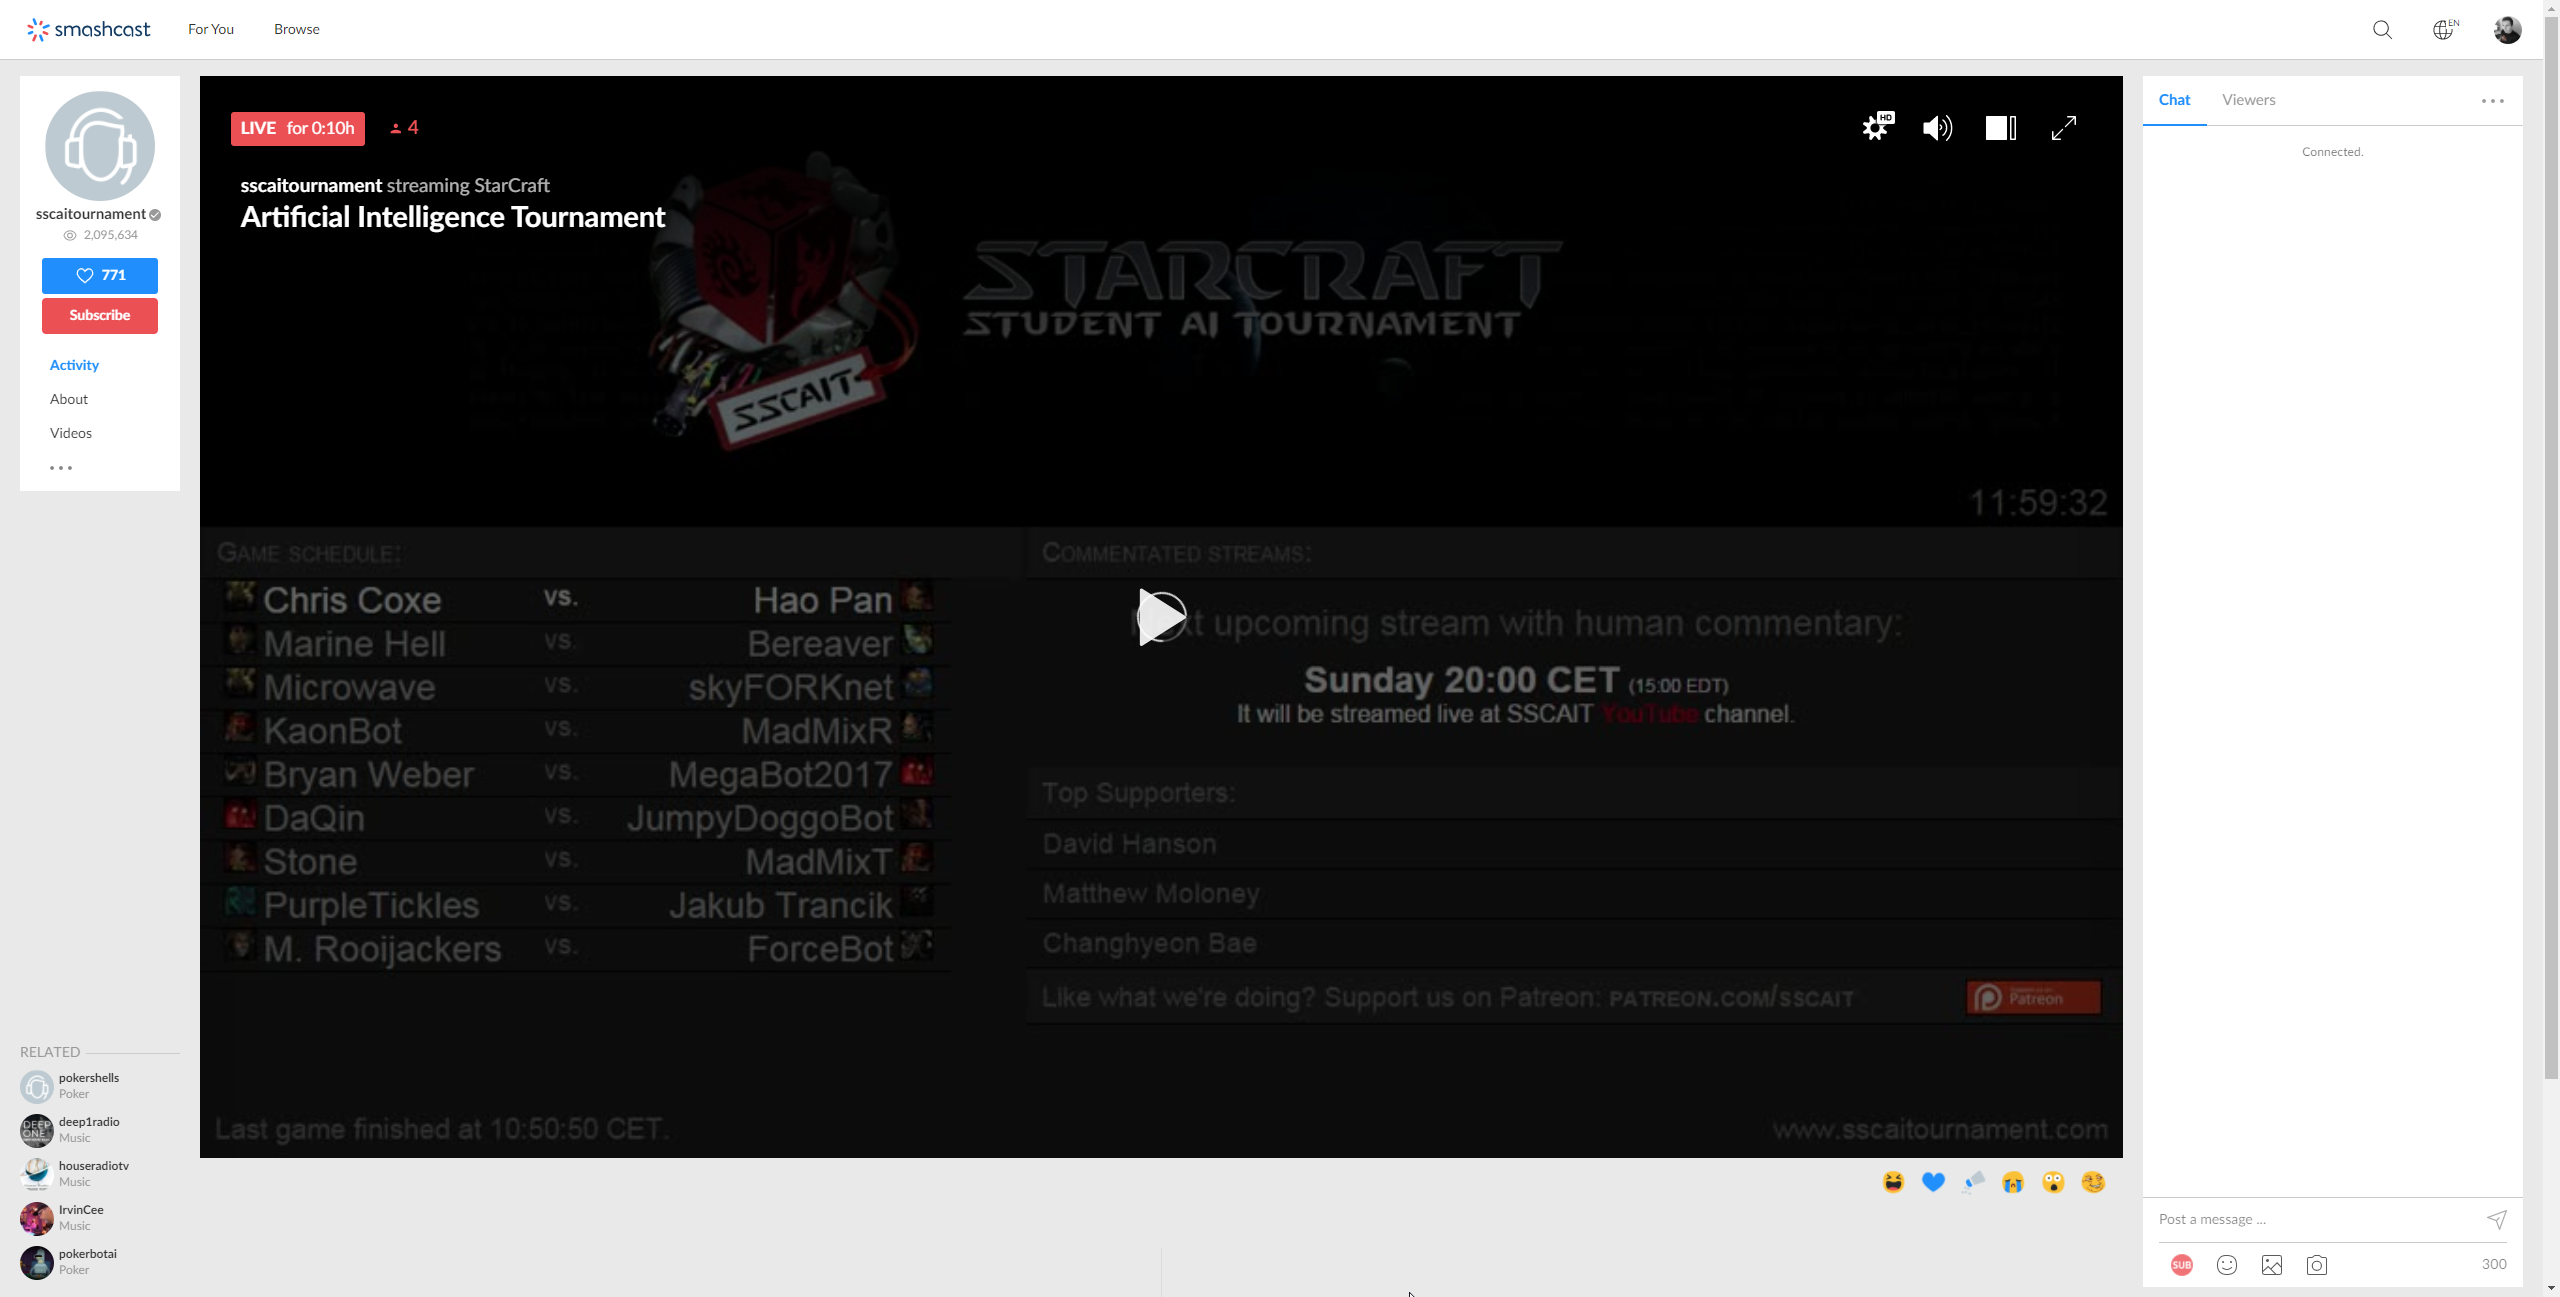
In addition to the website, Smashcast is also accessible via an app. This is available for both iOS and Android. As a feature, the Hype-O-Meter should be mentioned above all. With it, viewers can cheer for their favorite in e-sports tournaments. In general, a streaming channel on Smashcast is adapted to a tournament environment, including the display of the current score. In the future, further features aimed at the e-sports sector are to be added.
As a streamer you have the possibility to present yourself in one of the games or other categories. To what extent Smashcast is suitable for you, you can find out for yourself. We will explain how to start a live stream on Smashcast, which basic settings are relevant and which software is best used for streaming on the e-sport streaming service.
How do I start a livestream on Smashcast?
Step by step we will now show you how to start your first stream on Smashcast:
- First you create a free account. You can do this with your email address or you can use your profile on Facebook or VKontakte for this. If you already have an Azubu/Hitbox.tv account from the past, you can also use this login data for Smashcast.tv.
- Afterwards you can customize your channel design and make minor basic settings. We will explain how to do this in the next chapter.
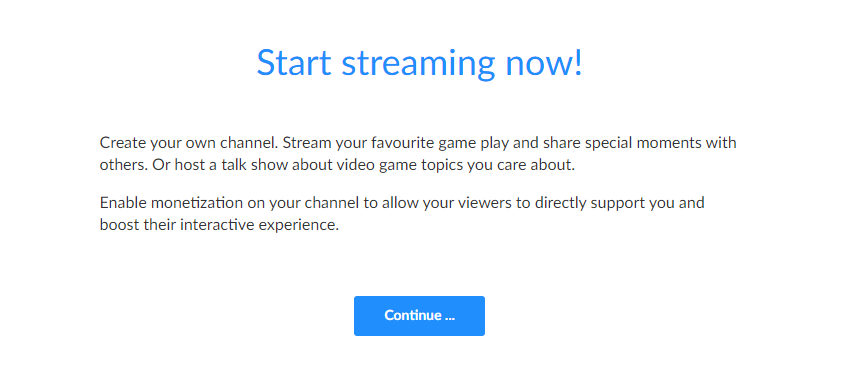
- Now go to "Start Stream" by clicking on your profile picture.
- Afterwards you choose a live streaming software with which you will stream on Smashcast. We recommend OBS Studio.
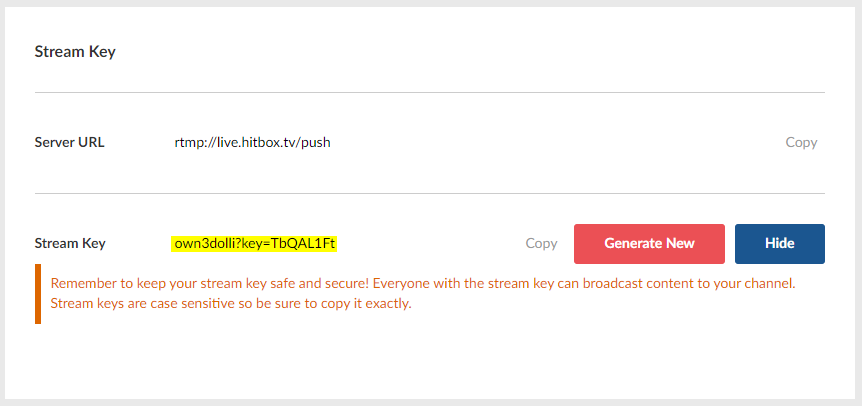
- Open your streaming software and enter your streaming key under settings. You can find it by clicking on your profile avatar in the top left corner and then going to "Settings". There you will find the item "Channel" in the left menu, where you can also see the Streamkey. Important: Do not show this to anyone, as it is the direct connection between Smashcast and your streaming software.
- Now you have to optimize the settings in the streaming software. How you do this best is described in detail for OBS and XSplit.
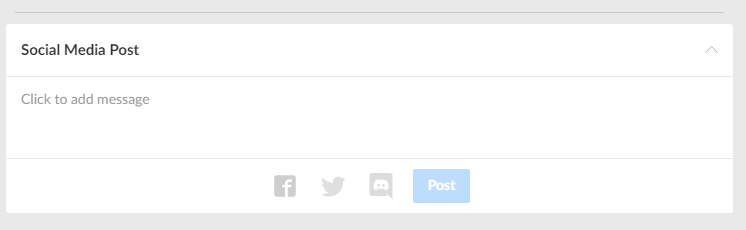
- Before you go live, you can assign a title on Smashcast, name the game and choose your language. Underneath, you can share a post on Facebook, Twitter or Discord to let your followers know that you are streaming now.
- Now you can click on "Streaming" in your broadcaster software and start your first live stream on the number one e-sport streaming service.
Basic settings in Smashcast
All relevant settings and information for your Smashcast stream can be handled in a few simple steps. Click on your Smashcast avatar and select "Settings". There you will find a menu on the left side where you can select "Channel".
Smashcast offers many more options that you can use to fine-tune your channel, but for the basic settings, all options outside the "Channel" tab are irrelevant. Here are three main categories that we'd like to bring a little closer to you:
- Channel Settings: Here you can activate the recording of your stream and set a stream delay. This is useful for example in PvP games to protect you from enemies who want to gain an advantage from your livestream by knowing your position and tactics. If your channel is not R-rated, you can mark it accordingly here.
- Streamkey: Here you can find streamkey and server for the transmission of your stream. You will need both to provide your streaming software (OBS, XSplit etc.) with information. The exact procedure was already described in point 2.
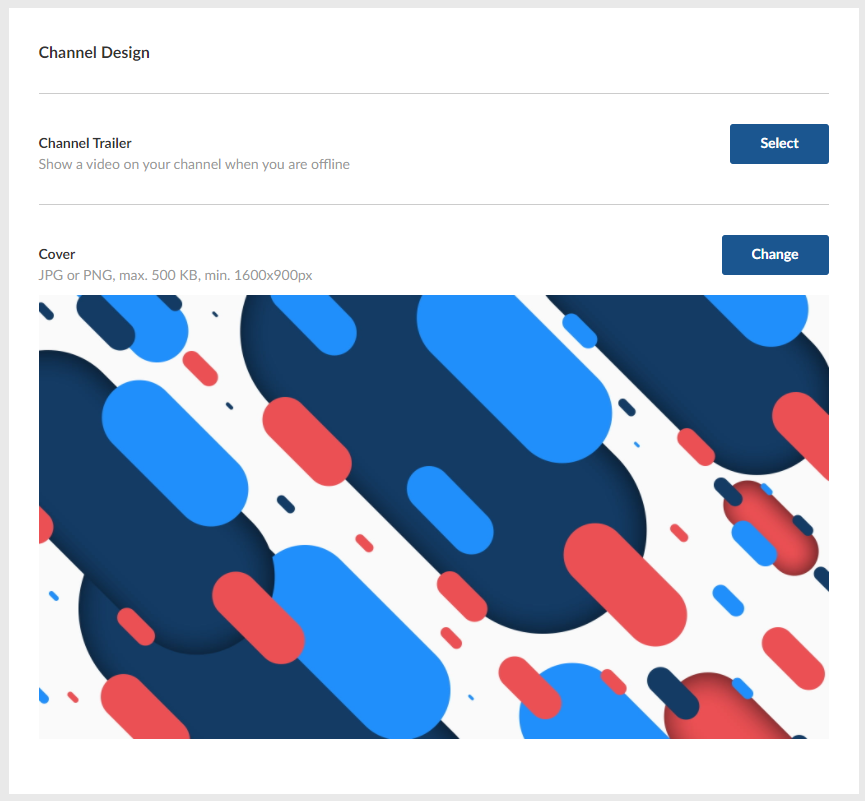
- Channel Design: Use this area to define an offline image for your channel under "Cover". You can also add a short video under "Channel Trailer" to make your channel appealing to viewers while you are offline.
Then click on "Live Dashboard" in the left column to set the info for your current stream. Here you can give your stream a title, select the game you are currently playing and choose your language.
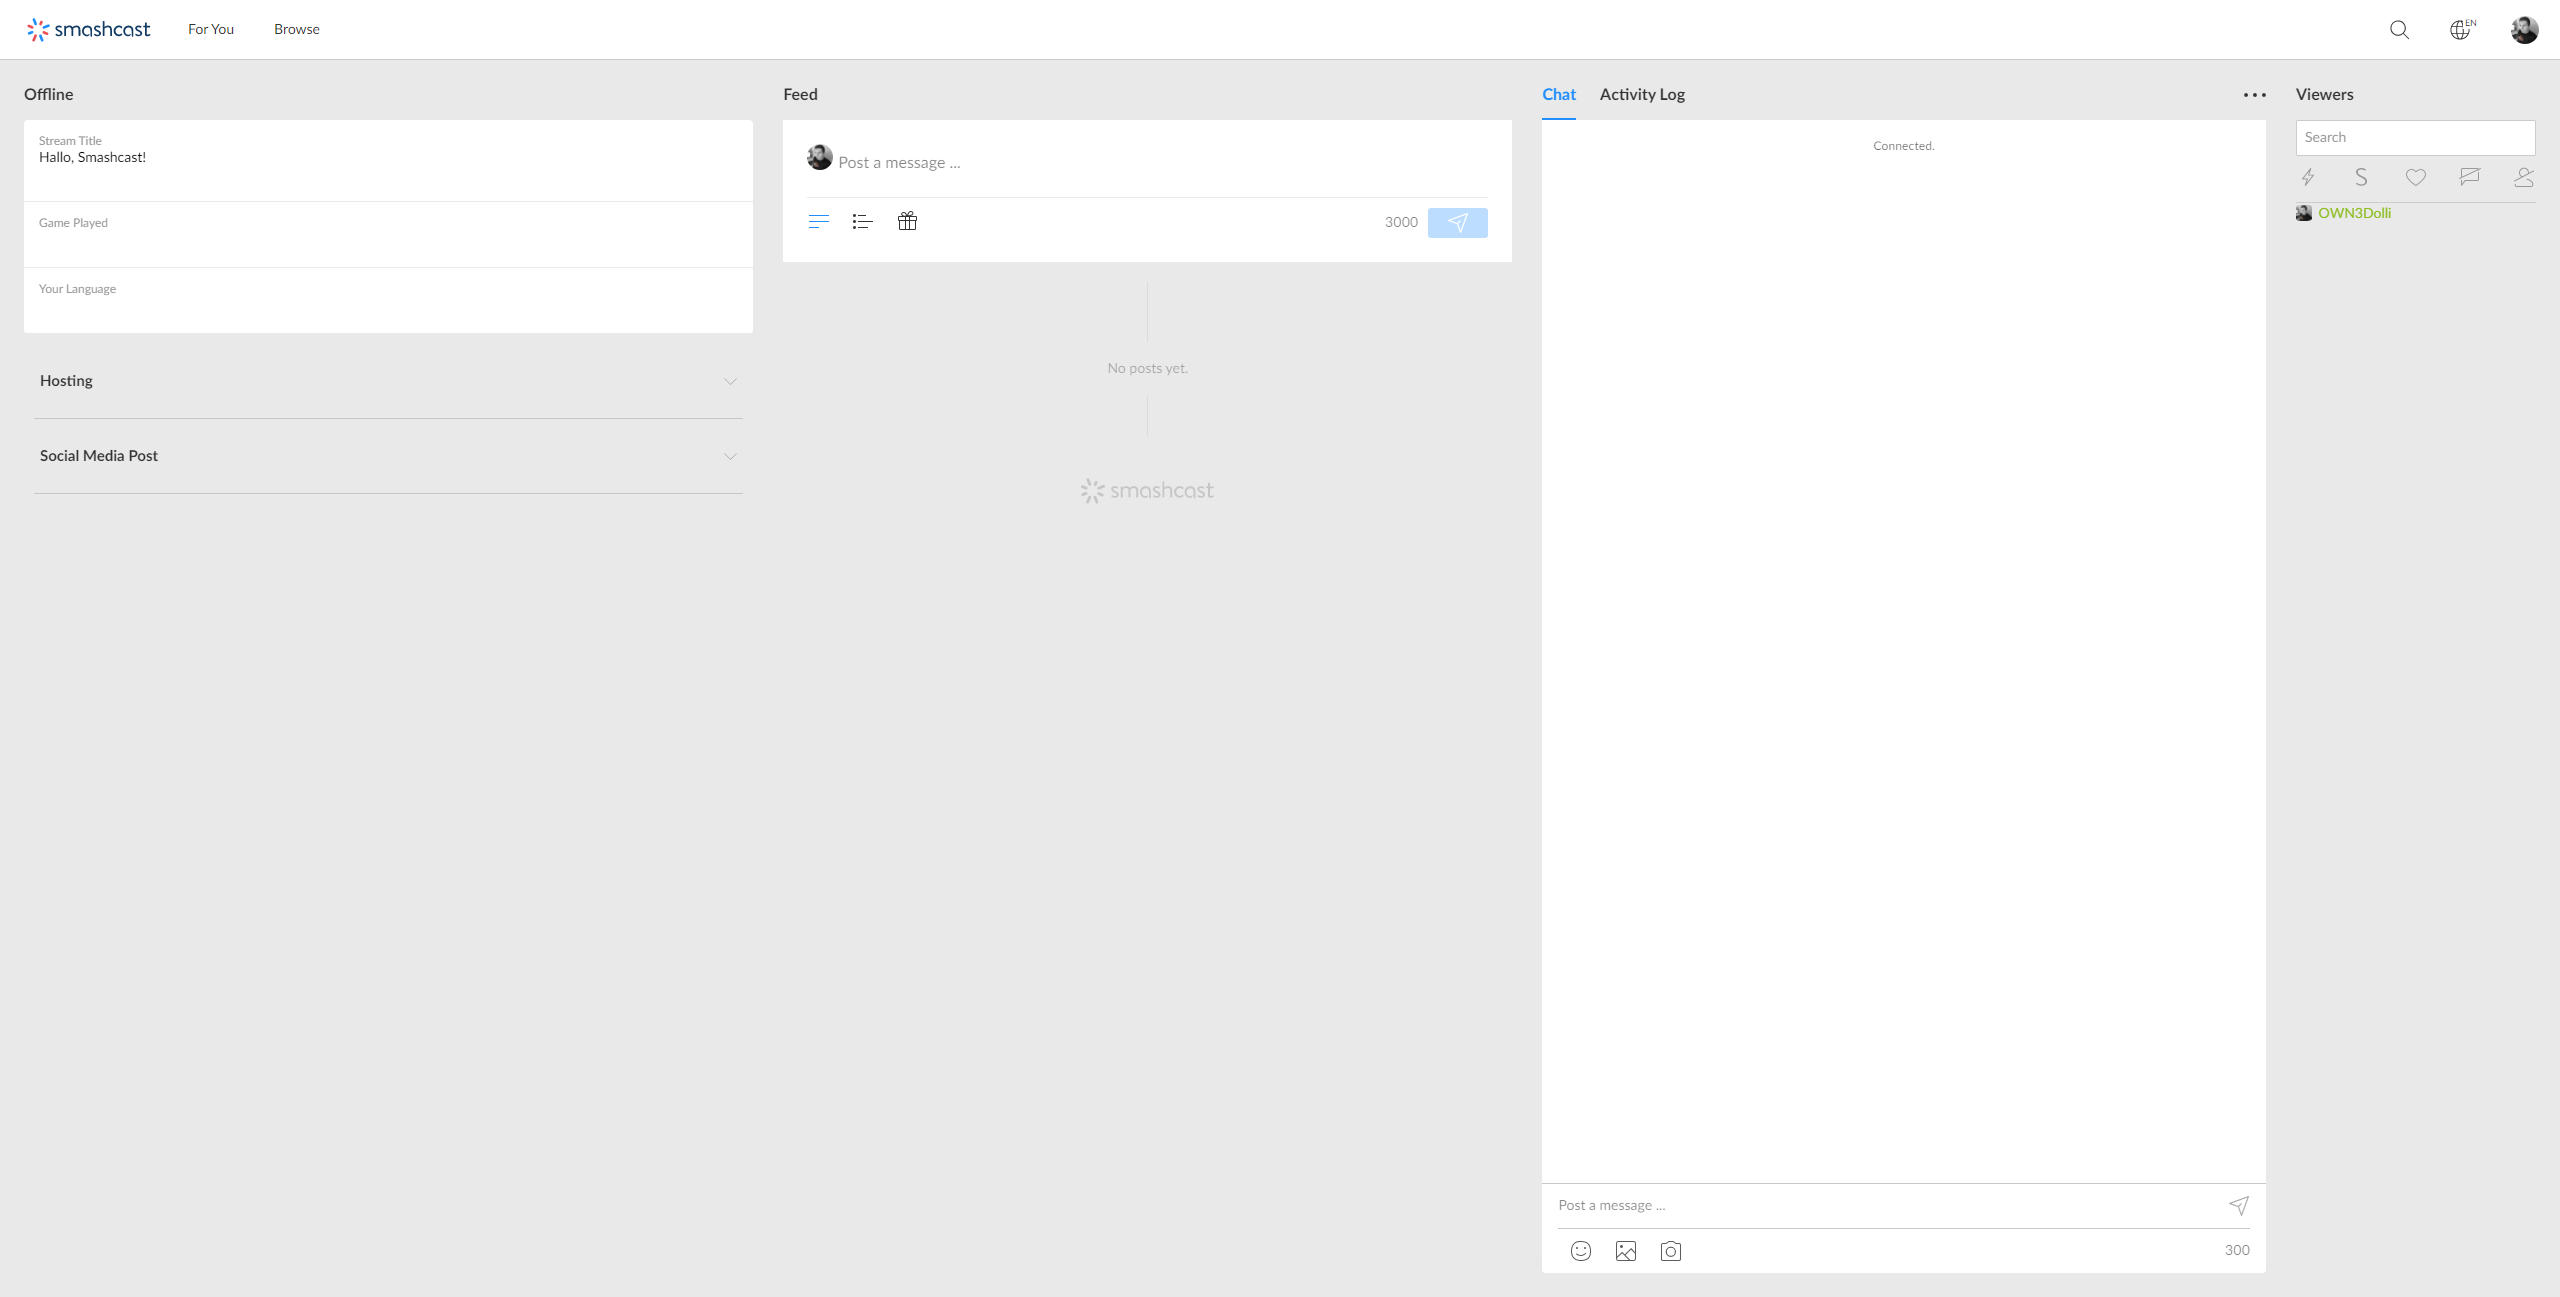
Under "Social-Media Post" you can directly post a message on your preferred platform or under "Feed" you can communicate directly with your fans on Smashcast. Furthermore you have the possibility to create polls or start a raffle.
You can also use this menu to place advertisements to earn some extra money and to view and moderate your chat directly.
Software for streaming to Smashcast
Once you have saved your streamkey, open your streaming software. We would recommend OBS Studio for this. This is a very reliable and free software that has become the absolute number 1 in the last few years.
All you need is the stream key, as you can select the appropriate server directly in the OBS settings. Since other encoder software may require a server link, it's good to know that you can also find it in the settings under "Channel".
If you are interested in using OBS Studio but are not yet familiar with it, please take a look at our detailedOBS Guide.
Olli
E-Commerce & Content
I am our housekeeper, wherever I can help, I stand by with help and advice =)